Thursday, February 28, 2013

Nesting

Hello again friends! So, I don't know who knows this about me, but I am 28 weeks pregnant as of TODAY. Exciting, I know. lol Let me get it out of the now by saying that no, we do not, and will not, know the sex of the baby until s/he joins us in May. I know, there are some of you out there screaming at your computer because you can't stand the idea of not knowing. Trust me, I was one of you. The only reason I didn't find out was because my darling husband didn't want to know. However, now, I am really excited for that moment when I get to hear my baby cry for the first time and have the doctor announce "Congratulations, you have a baby boy/girl!" I just know that is going to make that moment even more special than it already will be.
 
Ok, now that we have all (hopefully) moved past the issue of not knowing the sex, we can get to the fact that I am officially nesting. I have been spending all of my free time shopping, planning, organizing, creating for the baby. The nursery is going to be neutral. The bedding is called Little Pond. It has ducks, turtles, frogs, giraffes, and elephants in it. It is all light hues of blue, yellow, green, pink, and purple. I decided on Sunday that it was time to create a few projects for the nursery decor. So I made 2 of 5 pictures to hang on the walls. I hope you enjoy these as much as I enjoyed making them!


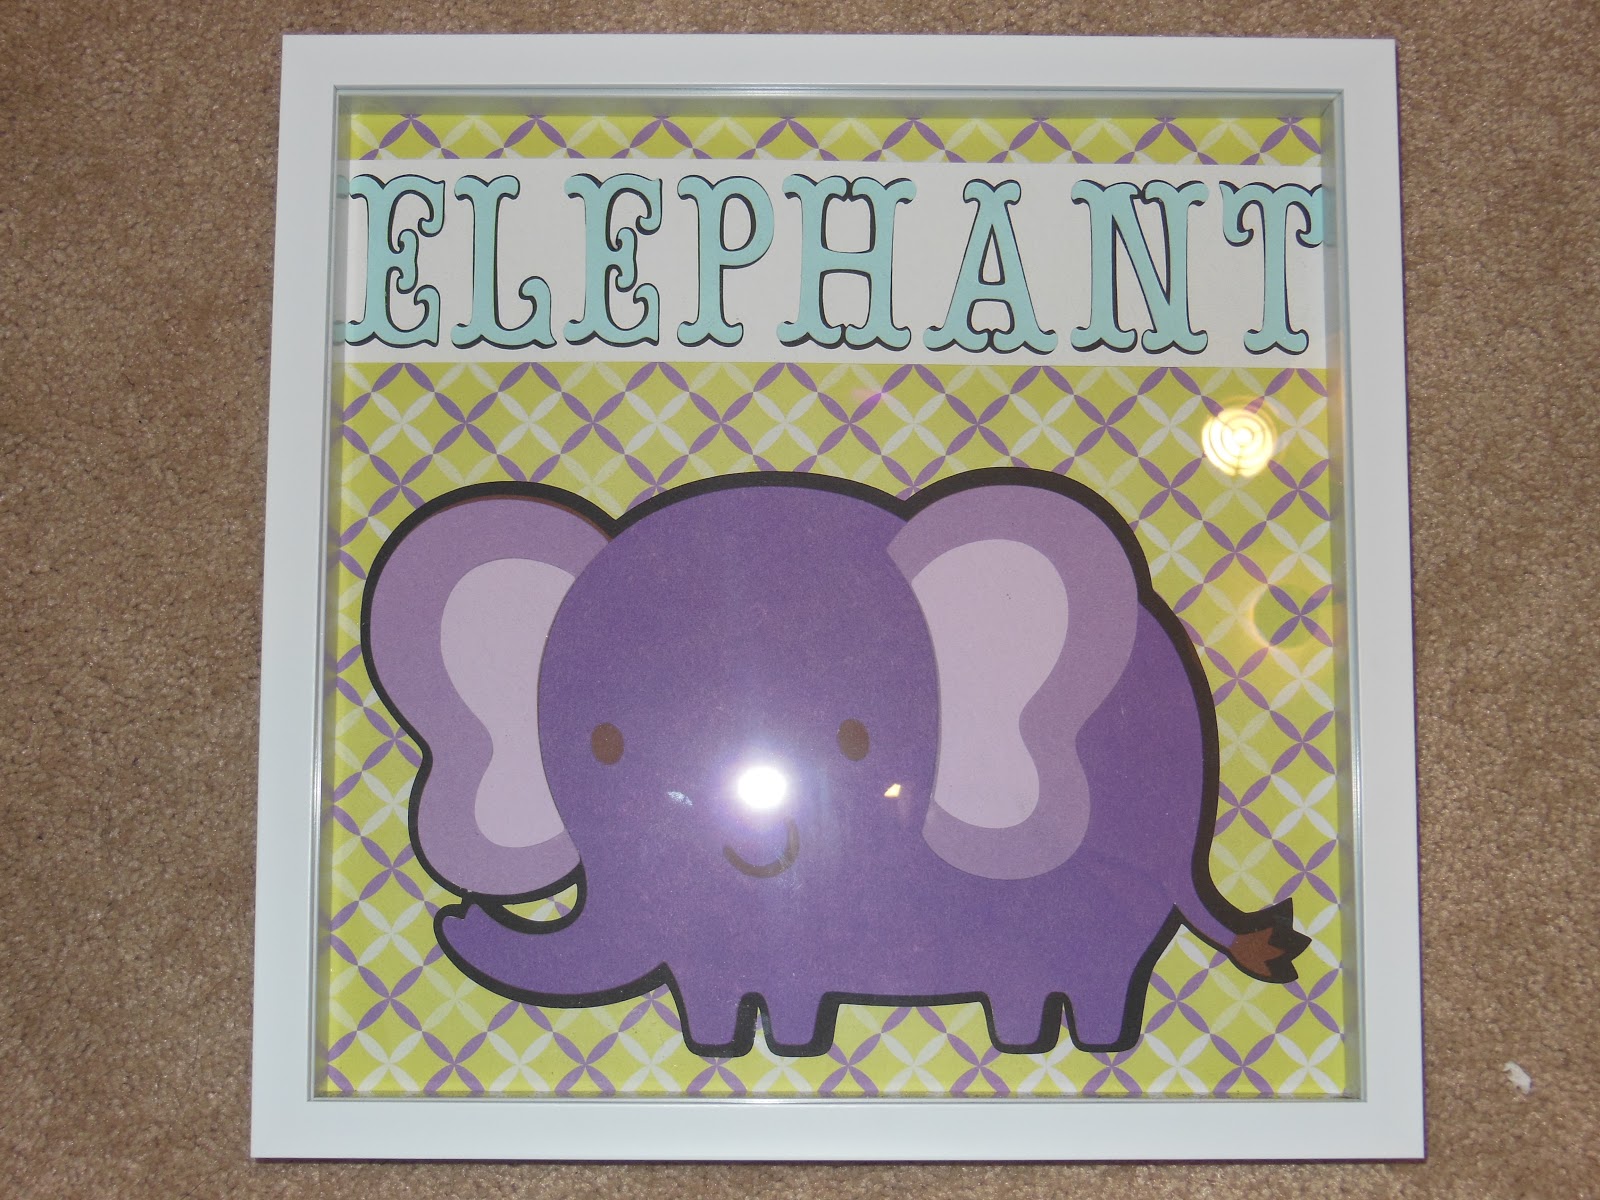
Cricut Cartridges: Create-A-Critter, Storybook
Pattern Paper
Cardstock: Black, Dark Brown, Dark Purple, Medium Purple, Light Purple, White, Light Blue
White 12x12 Shadowbox


Cricut Cartidges: Create-A-Critter, Storybook
Patterned Paper
Cardstock: Black, Dark Brown, Green, Light Green, Light Pink, White
White 12x12 Shadowbox

Dorothy

Valentine's Part 2

Ok friends, I know Valentine's is over. However, things have been CRAZY in my house! First, my whole family ended up with the flu. That meant a week of each of us having a high fever, stomach issues, vomiting, coughs, and nasal issues. It was terrible, and I wouldn't wish it on ANYONE. I'm so thankful that we are all back to be healthy. So, although Valentine's Day has now came and went, I still wanted to show all of you the last of my son's cards. We used Art Philosophy and Create-A-Critter cartridges for them. I hope you like them. He loved them, and was so excited to hand them out (even if it was a few days late). :)


Dorothy

Saturday, February 9, 2013

Pastel Valentine

Last night I decided to take on a new kind of challenge. I looked at 4 different blog challenges, and I decided that I would really challenge myself by doing all 4 on one project. What was I thinking? At Die Cuttin Divas, the challenge was a sketch for a card. Ok, next is a theme. Scrappy Moms Stamps challenge was to create a Valentine's Themed project. Great! That covers the theme, plus over at Fantabulous Friday the challenge was to make a project including a heart. Valentine's Day and hearts? Perfect! So, I sat down and stared at all of my paper (if I haven't mentioned before, I am a paper hoarder). I took a look at my challenges again, and found the perfect one. Over at Craft Your Passion Challenges, their challenge this week was pastels! Ok, so a pastel, Valentine's Day card with a heart. I can do this. I hope. Enjoy!


Cricut Cartridges - Art Philosphy
Cardstock - Pale Yellow, Baby Pink, Lilac
Patterned Paper - Pink/White polka dot, White/Yellow/Pink/Purple stripes
Baby Pink Ribbon
Pearl Heart Buckle
CTMH Whoo's Your Valentine Stamp Set Sentiment
CTMH Tulip ink
Pink Stickles

Wednesday, February 6, 2013

A Very Special Card

I came home, and I was able to spend some time in my room. Unfortunately, it was paying bills. :( Who enjoys that? However, thanks to my amazing husband, who made dinner, I was able to spend some enjoyable time in there as well. My son and I made a very special Valentine's Day card for one of my son's favorite people. He loves Batman, so it seemed only appropriate that we made him a Batman card! I hope you all enjoy!


Cricut Cartridge - Batman: The Brave and The Bold
Cardstock - Black, Yellow, Burnt Orange, Orange, Blue, Tan

I cut envelope1 and card1 at 4.25 inches. It was a fairly easy card to cut, but I wish it would have been cut larger! Unfortunately, I cut it as large as the envelope would go.

Dorothy

Tuesday, February 5, 2013

Valentine's #1

For the past few days my son and I have been working on his Valentine's. He made a list of 35 people he wants to give Valentine's to. I hope we can make it through all 35 by next week! lol So far we have 8 finished. I have really enjoyed being able to share something I love, something that I enjoy so much, with my son. I hope that you enjoy them as much as we have, and there will be more to come!


All of the cards are made with the Cricut CTMH Art Philosophy cartridge. I cut oval5 at 4 inches on a dark pink cardstock. I then layered oval5 cut at 3.75 inches in a tan cardstock.


Cricut Create-A-Critter frog cut at 2.75 inches. My Pink Stamper sentiment from Punnylicious stamped with CTMH Olive ink.


Cricut Create-A-Critter Poodle cut at 2.75 inches. My Pink Stamper sentiment from More Punnylicious stamped with CTMH Tulip ink.


Cricut Create-A-Critter Turtle cut at 1.75 inches. My Pink Stamper sentiment from Even More Punnylicious stamped with CTMH Moonstruck ink.


Cricut Create-A-Critter Bear cut at 2.75 inches. My Pink Stamper sentiment from More Punnylicious stamped with CTMH Cocoa ink.


Cricut Create-A-Critter Owl cut at 2.75 inches. My Pink Stamper sentiment from Even More Punnylicious stamp with CTMH Dutch Blue ink.


Cricut Create-A-Critter Deer cut at  3 inches. My Pink Stamper sentiment from More Punnylicious stamped with CTMH Cocoa ink.


Cricut Create-A-Critter Cat cut at 2.75 inches. My Pink Stamper sentiment from More Punnylicious stamped with CTMH Tulip ink.


The back of all cards have the following:

Studio G "Happy Valentine's Day" sentiment
CTMH "To" and "From" from the Celebration stamp set
K&Company "Handmade with Love" sentiment
CTMH Vineyard Berry ink

Dorothy

Sunday, February 3, 2013

Valentine's Day

It's Superbowl Sunday, and I had a busy day! I spent a lot of my day prepping for our party and lunches this week. However, I did find the time to get in my room, and I took on my second blog challenge. Over at Die Cuttin Divas they do a weekly challenge, and this week is pretty easy. Anything goes. :) I decided to take that opportunity to make my husband's Valentine's Day card. Enjoy!


Cricut Cartridges - Art Philosophy
Cardstock - White, Light Pink, Red
Ribbon
Red Ink
Red Stickles
"Happy Valentine's Day" sentiment stamp
Pop Dots

I used my Expression to cut the following from the Art Philosophy cartridge: rectangle2 card at 6.25 inches, rectangle1 at 3.25 inches, heart3 at 3 inches, and font layer tag4 at 1.25 inches. I layered both the white and red designs in the bottom right corner. Both the heart and the design are enhanced with red stickles. The heart is attached with pop dots. The edge of the card is sponged, and the sentiment has been stamped with red ink.

Dorothy

Saturday, February 2, 2013

First Ever Challenge

Happy Saturday everyone! I hope that you all have found some scrappy time like I have today. Not only did I get started on my son's Valentine's Day cards (new blog entries coming as they are completed), but I also decided to take on my very first blog challenge. Over at Frosted Designs, they posted a challenge to use the word "love" and at least one heart on a card, layout, or off the page project. Well, I took that challenge on! Enjoy!


Cricut Cartridges - Art Philosophy, Mickey & Friends, George & Basic Shapes
Cardstock - Light Pink, Light Pink with Glitter, Black, Tan, Red, Dark Pink, White, Blue
Close To My Heart Ink - Tulip
"I Love You" Sentiment Stamp
White/Black Twine
Pop Dots

I used my Cricut Expression Art Philosophy cartridge to cut the Oval4 card at 6.25 inches, as well as the Oval3 shape at 3 inches. I cut Minnie4 at 2 inches from Mickey & Friends. The heart was cut using George & Basic Shapes at 1 inch. I sponged the edges of the card with CTMH Tulip ink. I also stamped the sentiment with Tulip. Minnie and the heart are both attached with pop dots. The twine is taped to the back of Minnie's hands and the back of the heart.

Dorothy

Friday, February 1, 2013

Dino-Mite

I sat down last night needing some "mommy time." My four-year-old son had a temper tantrum, and my husband was out of town. Once I got my son calmed down, I was more than ready to make something. So, I sat down at my desk and thought I should make my son his Valentine's Day card.

I searched my library of Cricut cartridges, and I decided to use one of my favorites.... Create-A-Critter. I cut the dinosaur and words I wanted, and after glueing them on decided it just didn't look like a Valentine's Day card. Well, thanks to the help of some wonderful, crafty ladies I know, I now have a birthday card to have on hand. Hope you enjoy!


5x7 white cardstock card
Cricut Cartridges - Create-A-Critter, Alphalicious, Celebrations, Mickey & Friends
Homemade Paper
Pop Dots
Stickles
Cardstock - black, bright green, orange, light green, white, yellow, lime green

I used my Cricut Expression to cut the dinosaur from Create-A-Critter. I cut a black shadow and all the pieces for Dino2 at 3 inches. I cut my homemade paper at 4.75x6.75. The Dino Mite saying was cut from Create-A-Critter at 3 inches. The word you're was cut from Alphalicious (you're invited) at 2 inches. The grass was cut at 1 inch from Mickey & Friends. The party hat was cut from Celebrations (hat 4) at 1.5 inches. I used the pop dots to make the dinosaur stand out, and the stickles on the Dino Mite saying.

I just want to say a BIG thank you to my facebook friends for their ideas to help me make this card what it is. :)

Dorothy